Step-by-step Login Information
Local Usage via VirtualBox and a custom VM
The recommended way to do this Linux Intro remotely, is to use virtual machine (VM). This will run an application on your machine, which behaves exactly like one of the Linux Lab machines. The main advantage is that you don't have to work over a potentially slow network. To use this approach you will need to download and install VirtualBox, which is a hypervisor i.e. the app that runs virtual machines, and the concrete VM image that we use in MACS. Follow these instructions about how to run the MACS VM on your machine. Continue with the section on setting up your working environment.
Remote Machine Access
In order to access one of the Linux lab machines remotely, use the x2go application on your machine (laptop). Instructions about basic x2go usage are here. If you follow these instructions you will launch a remote desktop on the target machine, and you'll be able to login as if working directly on the lab machine. Continue with the section on setting up your working environment.
In-lab Machine Access
This section talks you through the login procedure on one of the Linux Lab machines (EM 2.50). This is naturally tied to the setup on these machines, especially the window manager and its version.
When you get to a machine you should see one window with a login prompt, i.e. an input field asking you for the username. If the screen is black, check that the monitor is turned on using the power button at the front. If it is an the screen is still blank, check that the machine is turned (there should be a green light at the front of the desktop box). If it isn't press the power button to turn it on. You will have to wait a bit while the machine is booting, and you can marvel at the wonderful packages that are started during the booting process.
Once you have the login screen in front of your, enter your departmental username, press return, then enter your departmental password, and press return again. You should now see the desktop of the window manager (currently this is gnome).
If you have problems logging in, contact the help desk <help@macs.hw.ac.uk> (room EMB 1.33).
Setting up
Once you have logged in, either directly or remotely on the lab machine or into the VM, you need to set up your working environment. Next you probably want to start an application. If you plan to do the body of this Linux Introduction, you want to start a Terminal window. To do so, click at the main menu account at the bottom left of the screen. This will pull up another menu. Select System Tools on this menu, which will pull up another menu. Select Terminal on that menu. Here is a screenshot of that stage in the clicking:

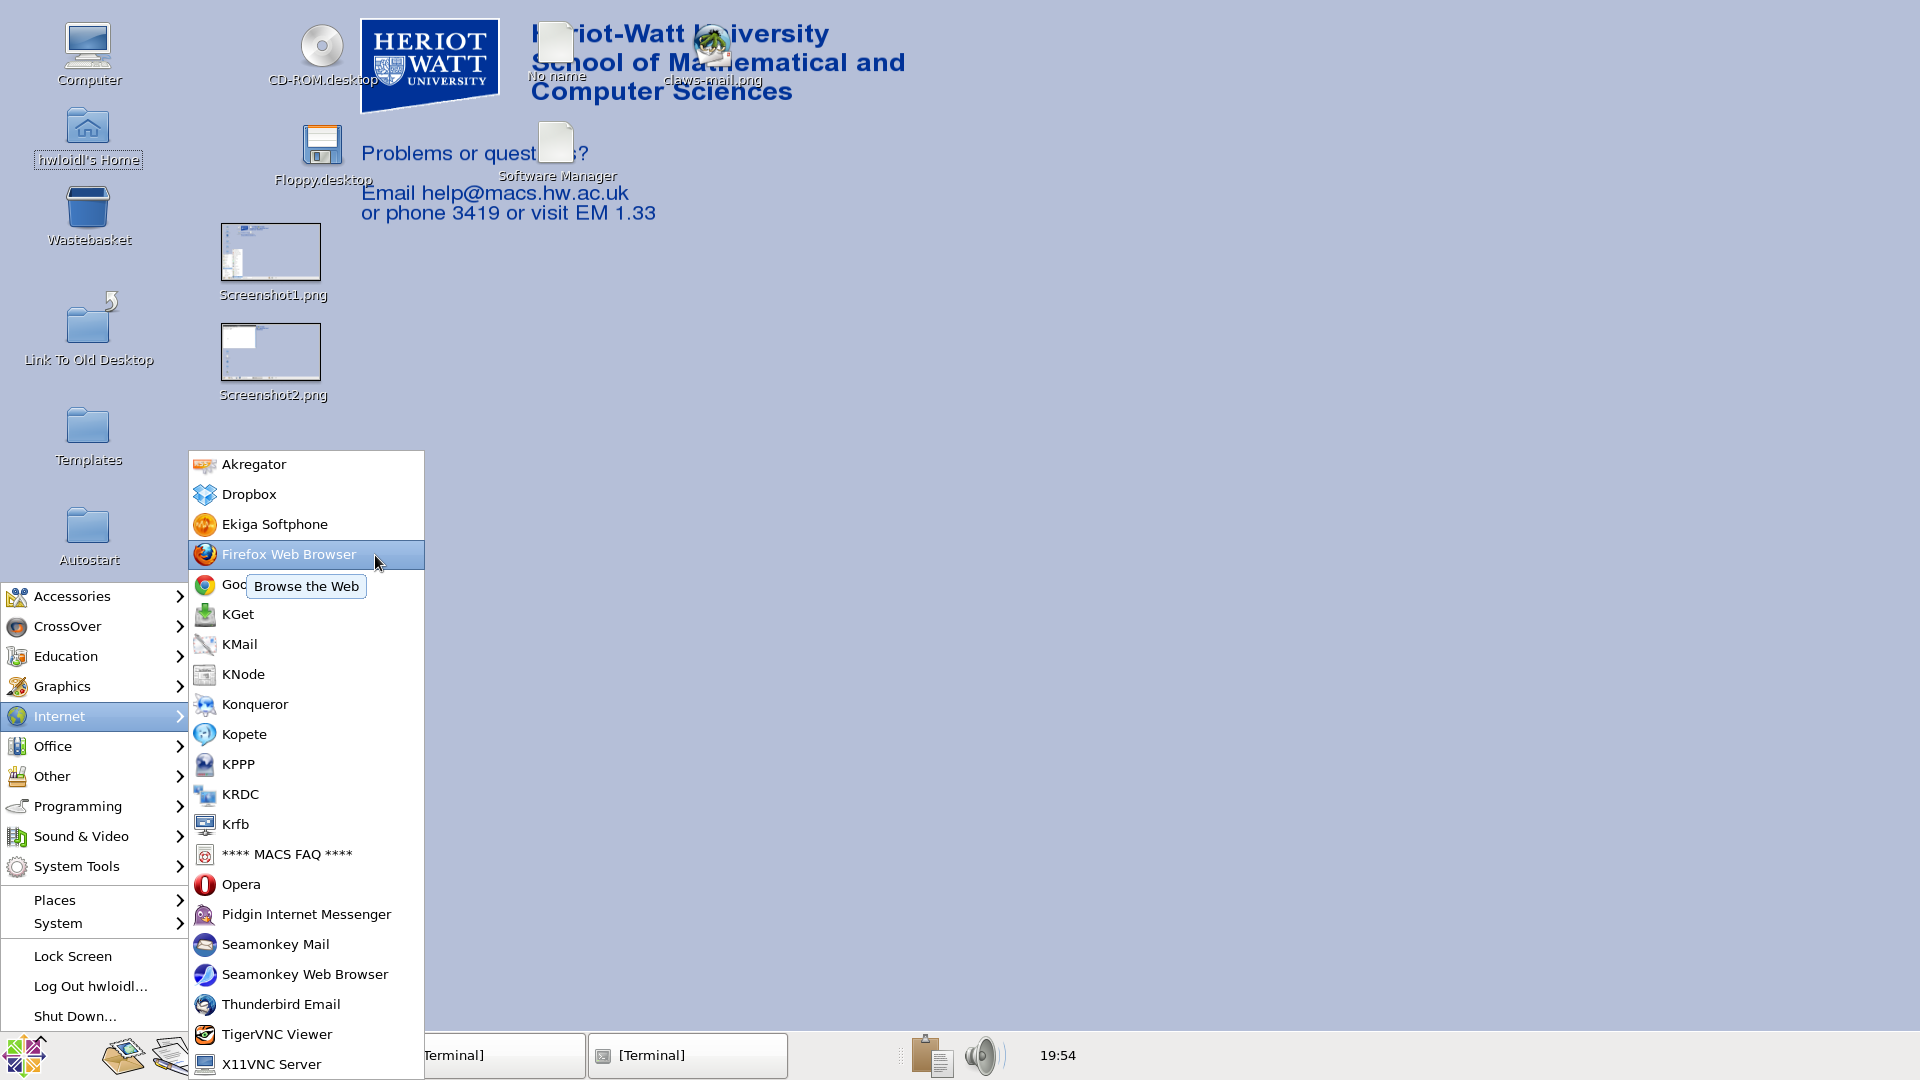
Once you have opened the Terminal window you can start typing commands, as instructed in the Linux Introduction. Best use a web browser side-by-side with the Terminal window to go through the Introduction document. To start a web browser, again click at the main menu, select Internet, then Firefox, as shown below:
Now you can work through the Linux Introduction, starting with the Section called Basic Linux Usage. Use the Terminal window and the Web browser side-by-side, and type in the relevant commands (or cut-and-paste from the browser into the Terminal window).
